

 SBMJOB
かなり久しぶりにUnityで開発記事書きます。
アカウントの作成→Unityのインストール→エディターの設定→簡単なシーン作成→実機での確認という流れで説明しますね。玉転がしアプリをつくってみましょう
玉転がしサンプル 完成イメージ
Androidスマホのジャイロ機能を使って、画面上の赤いボールをコントロールするアプリをサンプルっとして作っていきましょう。
Unity アカウント作成

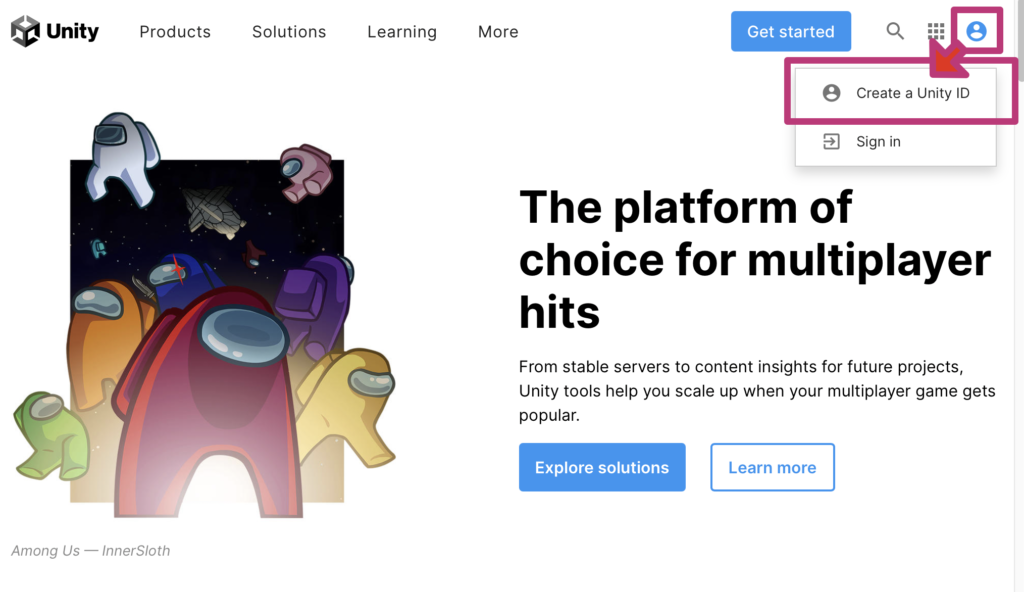
Unity公式サイトの右上の人型アイコンをクリックしてCreate a Unity IDを選択してアカウントを作成してください。
Unity インストール

こちらからUnityをダウンロードしてインストールします。
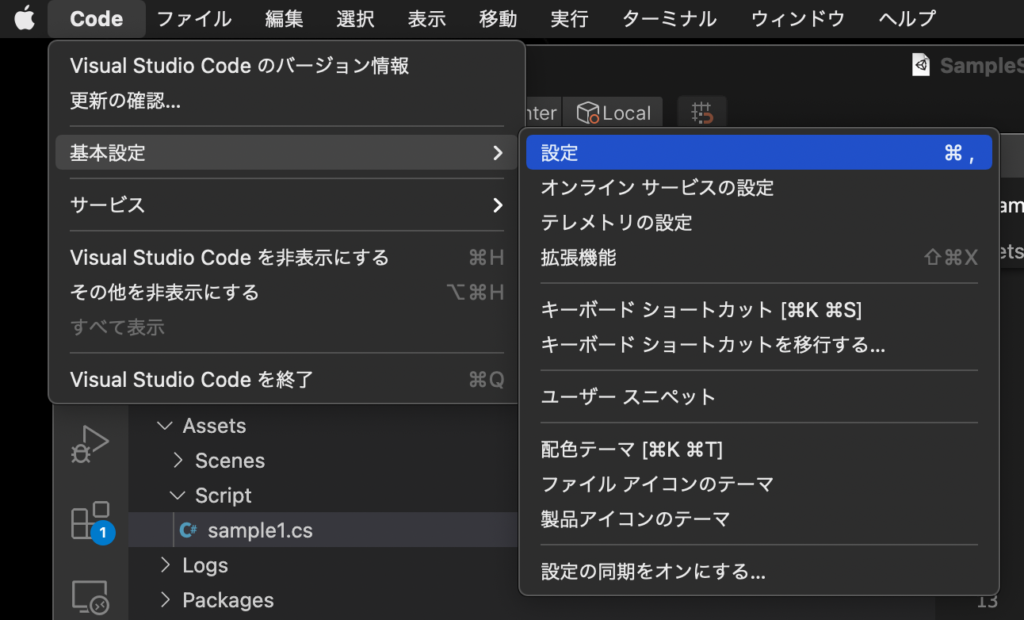
Visual Studio Codeのインストール

VS Codeをダウンロードしてインストールする。
エディター設定
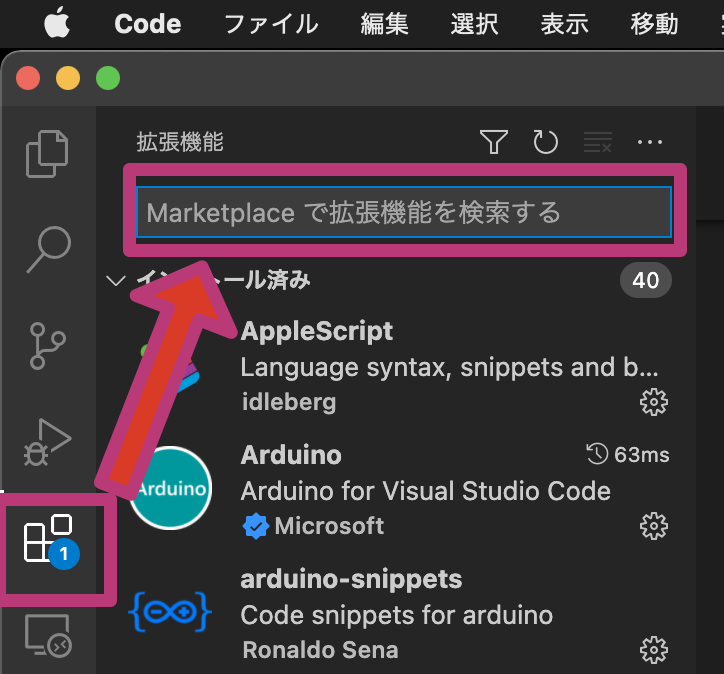
VS Codeで画面左部分の拡張機能アイコンをクリックして以下の拡張機能をインストールしていく。
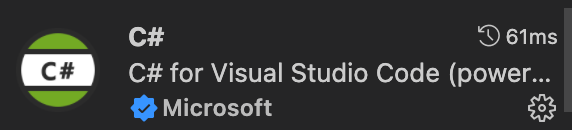

- C# for Visual Studio Code (Powered by OmniSharp)
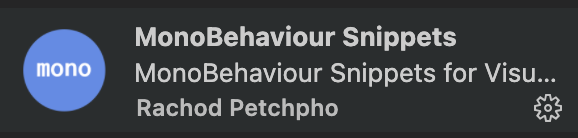
- MonoBehaviour Snippets
- Debugger for Unity
- Unity Code Snippets

時々コード補完が効かなくなる事があります。若干不安定なのですがその時はuse global monoの設定を切り替えてたりしてalwaysに最終的に戻して再起動すると機能することがありました。
シーン作成
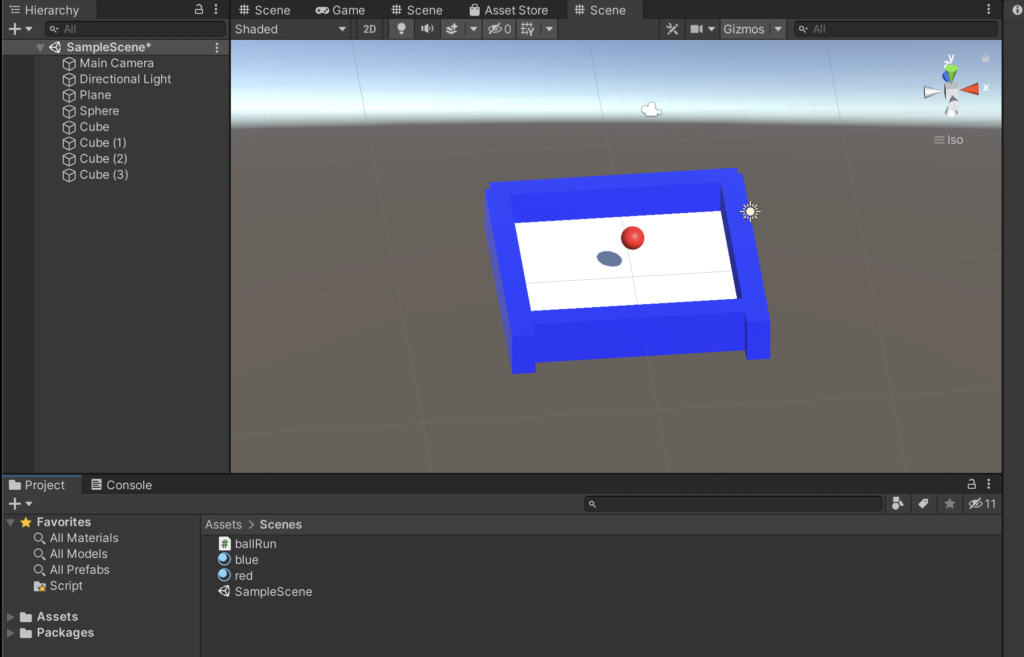
Panelを一枚、その上に縁取る様にCubeを四つ、真ん中にSphereを一つ設置します。
マテリアルを二つRedとBlueを作成してそれぞれの色を設定し枠にBlueをボールにRedを設定します。
ボールにはRigebody,Sphere Colliderを付けます。スクリプトは以下のballRunスクリプトをつけましょう。
using System.Collections;
using System.Collections.Generic;
using UnityEngine;

public class ballRun : MonoBehaviour
{
    private float speed = 10.0f;

    // Start is called before the first frame update
    void Start()
    {

    }

    // Update is called once per frame
    void Update()
    {
        var dir = Vector3.zero;

        dir.x=Input.acceleration.x;
        dir.z=Input.acceleration.y;

        dir *= speed;

        Rigidbody rb = this.GetComponent<Rigidbody>();
        rb.AddForce(dir);

    }
}
実機で実行
実機の開発者向け設定 Oppo RenoA 編
「設定」→「端末情報」→「バージョン」→「ビルド番号7回タップ」
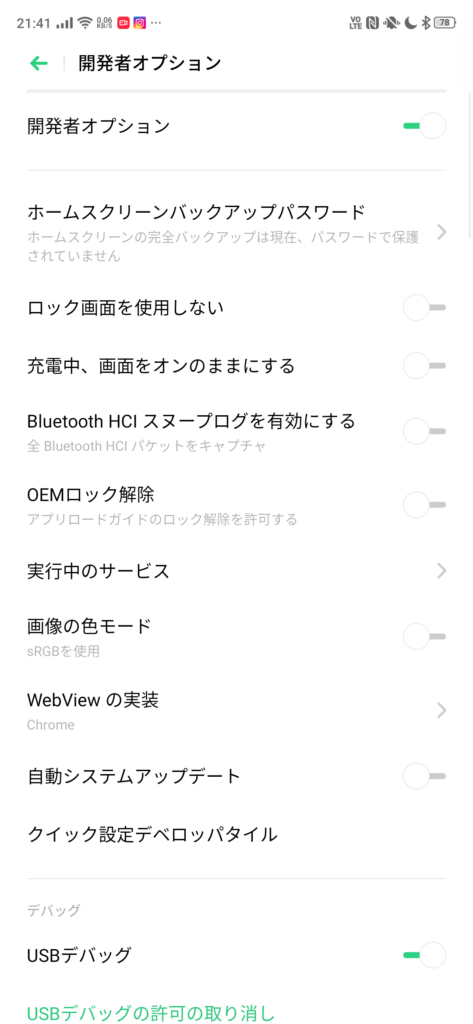
「設定」→「その他設定」→「開発者オプション」→「開発者オプションをオンにする」
Build Setting
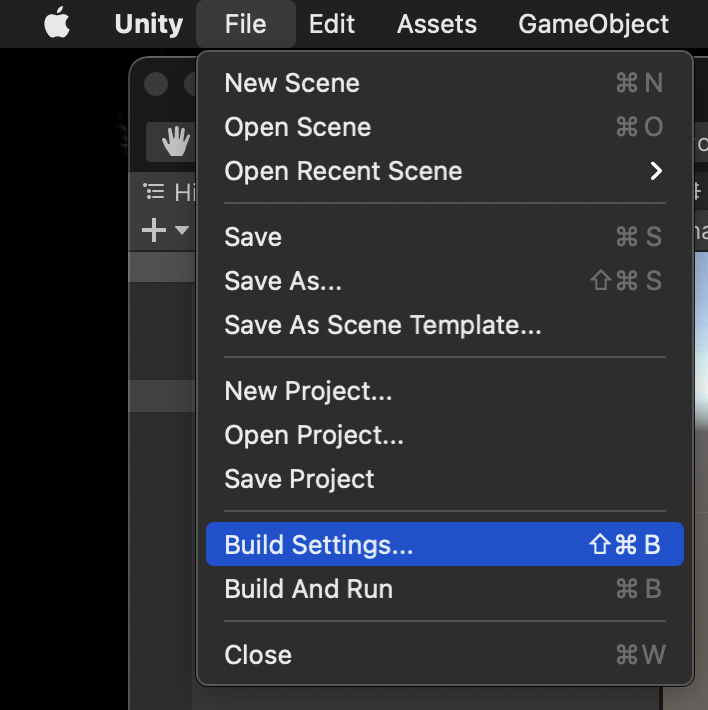
Build Settingsを開きます
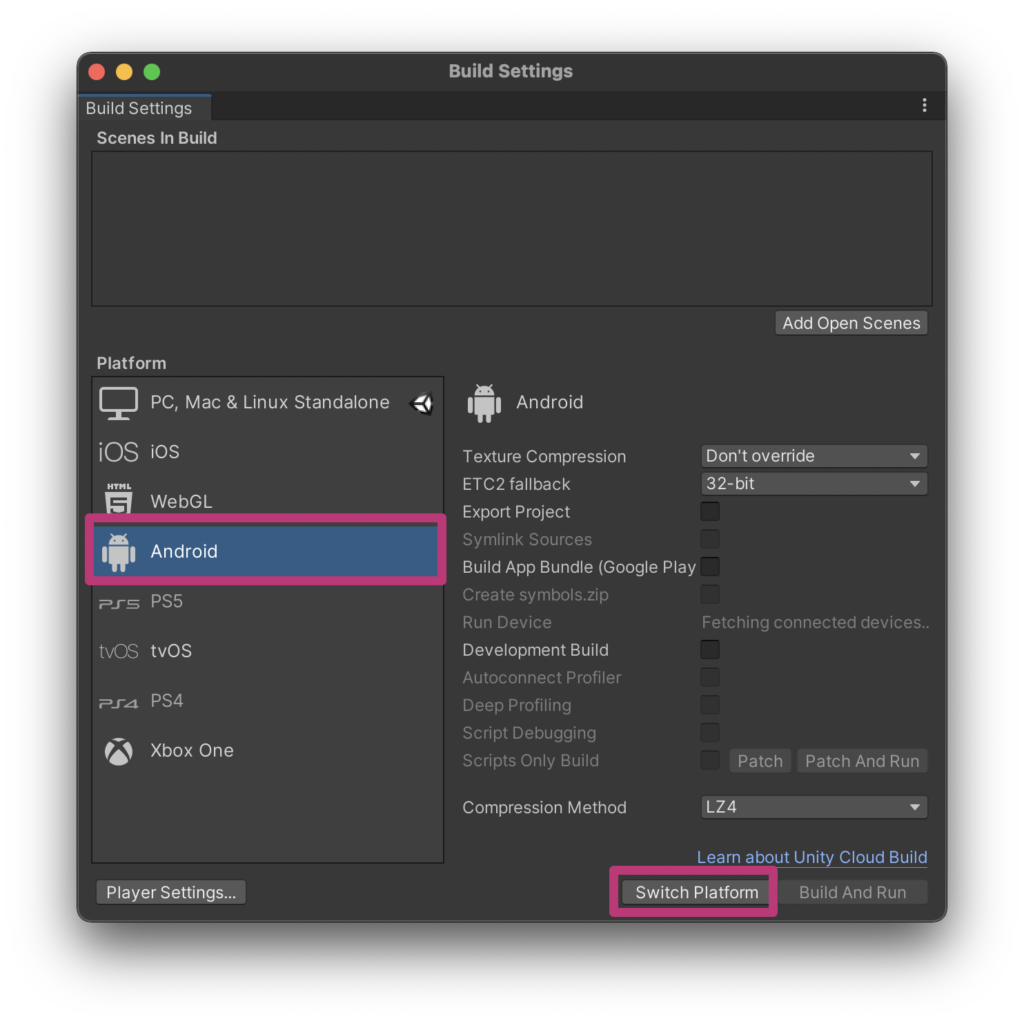
PlatformでAndroidを選択してSwitch Platformボタンを押してしばらく待ちます。一分位かな
私の場合はMacbookなのでAndroid端末を繋いでBuild And Runボタンを押してしばらく待つと実機にアプリが転送されて実行されますので動作を確認しましょう。


コメント